Improved Clinch Knot

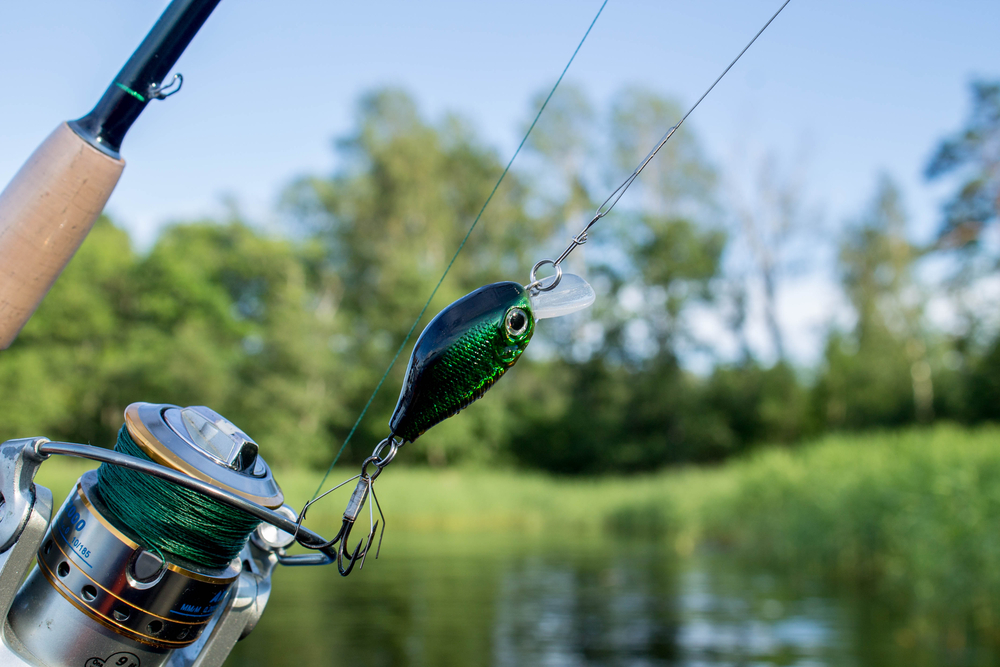
Tying a lure onto your fishing line can be done using various knots. Here are step-by-step instructions for tying one of the commonly used knots for attaching lures, known as the “Improved Clinch Knot”:
- Pass the end of your fishing line through the eyelet of the lure, going from the front to the back.
- Take the loose end of the line and make 5-6 wraps around the standing line (the main part of the line) above the lure’s eyelet.
- Thread the loose end of the line through the small loop formed just above the eyelet.
- Hold the loose end and the standing line, and then pull them simultaneously to tighten the wraps.
- Once the wraps are snug, moisten the knot with saliva or water to lubricate it. This helps reduce friction and allows the knot to tighten properly.
- Slowly pull the loose end of the line to tighten the knot fully. Make sure the wraps are neat and snug against the eyelet.
- Trim the excess tag end of the line close to the knot, leaving a small tag of about 1/8 inch.
The Improved Clinch Knot is a reliable knot that provides a strong and secure connection between your fishing line and the lure. It’s widely used for attaching lures, hooks, and swivels to monofilament, fluorocarbon, and braided fishing lines.
It’s important to practice tying knots before you head out for fishing to ensure you can tie them confidently and quickly when on the water. Familiarize yourself with other useful knots, such as the Palomar knot and Uni knot, as they are also commonly used for attaching lures and other terminal tackle.


